This adorable bunny wreath is the perfect craft to make this Easter season! Most if not all the supplies are available at your local Dollar Tree or Walmart. It is easy and quick, only taking about 30 minutes from start to finish.

Wreaths can be expensive! I know that I always try to shop post-Easter sales to get my Easter wreaths for the next year. This bunny wreath is the perfect option for you if you feel the same way! It is fairly simple and is great if you need something to for your teens to do. They will also love making our Valentine’s wreath.

Supplies For Your Bunny Wreath

- Bunny wreath form
- 2 Pink bandanas
- 3 rolls of white felt
- Scissors
- Twine
- Burlap ribbon
- Wire cutters (Or you can use scissors)
- Turquoise artificial flower, or any other color of your liking
- Hot glue gun and glue sticks
How to Make a Bunny Wreath
- Start by tying the twine in a double knot below the bunny ear on the left side. Measure out how long you want your hanger to be, and then cut, and tie in a double knot below the right bunny ear.

- Fold your pink bandanas in half, and cut along the folded seam until you have two equal halves. Cut strips approximately 1 ¼” wide.

- Cut each of your strips in half.

- Begin tying each strip around the bunny ears in a double knot. You can choose how tightly you want your strips together. I prefer for the metal form not to show, so I tied them very close together. Continue until both ears are completely covered with the pink bandana material.

- Cut the white felt into strips approximately 1 ¼” wide. You will need to leave them longer than the pink bandana material, as the bunny face of the wreath form is much wider.

- Tie each strip of the felt in a knot, and begin filling in all the way around the bunny face. I only knotted the felt once, as I felt it held the knot much tighter than the bandana material.


- Once the bunny wreath form is completely covered with the pink bandana material and white felt, cut a piece of burlap ribbon approximately 20” long.
- Fold the ends towards the middle, and add hot glue to form a bow.
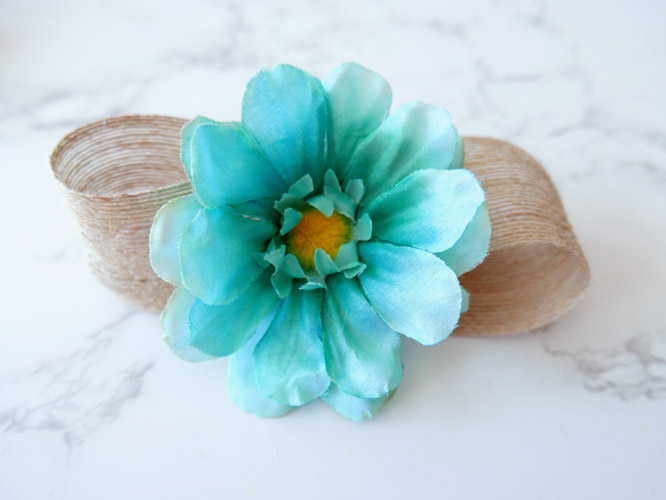
- Using wire cutters or scissors, remove one flower from the stem. Hot glue the flower to the burlap ribbon, and then hot glue the bow offset to the left on the white felt. You could also center the bow, or offset it to the right. Try different ways to determine what you like before gluing.

- Once the hot glue has dried, hang your bunny wreath on the door, or a wall, and enjoy your beautiful Spring wreath!

How to Use and Store Your Bunny Wreath
Hang your bunny wreath wherever you want! You could put it on your front door, your back door, a door inside your house, over the fireplace, on a wall, or wherever you want. To store your bunny wreath after Easter is over, you can place it in a garbage bag to protect the fabrics you used. For even better protection, put it inside a big tote to keep it safe from outside disturbances!
You did a great job decorating these! So cute.
This is adorable and the price is right! I love it!