Are you looking for a fun, adventurous way of helping your child stay engaged in their reading? We have what you are looking for! You can hop into the Outback with this adorable Kangaroo Bookmark. This bookmark can be made in the classroom or at home and will help your children want to jump into their next book adventure.

I love the bonding that can happen while crafting with kids. It is a great way to spend quality time with your own child. They can also get time to practice their fine motor skills in a fun, creative way and you get to appreciate their artwork as you encourage them along the way. Another great way to practice fine motor skills is by coloring. Check out our Space Color By Number. If you have space lovers they will be a huge hit!
Kangaroos are striking animals who are very good at kickboxing. Having a craft template makes creating this kangaroo bookmark easy! All you need to do is cut, assemble and glue the cutout craft paper together, and bam! You have a new bookmark to hug the pages of your child’s next book.
Get out your craft pouch of supplies today to make this sweet bookmark with your child! Love having cute bookmarks to help hold your place in a book then you’ll love our Mouse Bookmark, as well as this Giraffe Bookmark.
Supplies:
- Kangaroo Bookmark printable template- Grab it below or grab it from our membership library!
- Colored craft papers
- Sharpie
- Craft glue
- Pencil
- Scissors

How to Make A Kangaroo Bookmark

- Select 2 or 3 different shades of brown-colored craft papers. Trace the head, lower body pattern, tail and upper legs (or arms) on a medium shade of brown paper, trace the belly and lower legs on a light shade of brown paper, and trace the inner ears on pink and the nose on black paper. Cut out the traced patterns nicely.
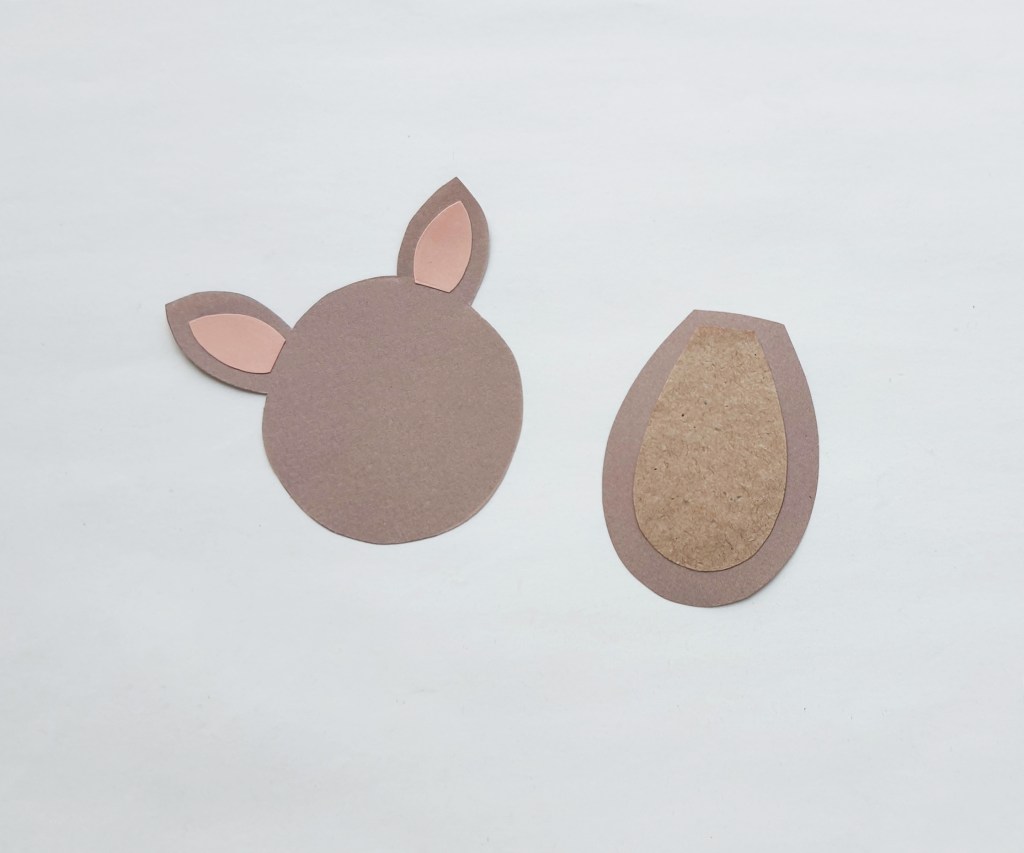
- Attach the inner ear cutouts on the ear parts of the head cutout and attach the belly cutout on the lower body cutout.
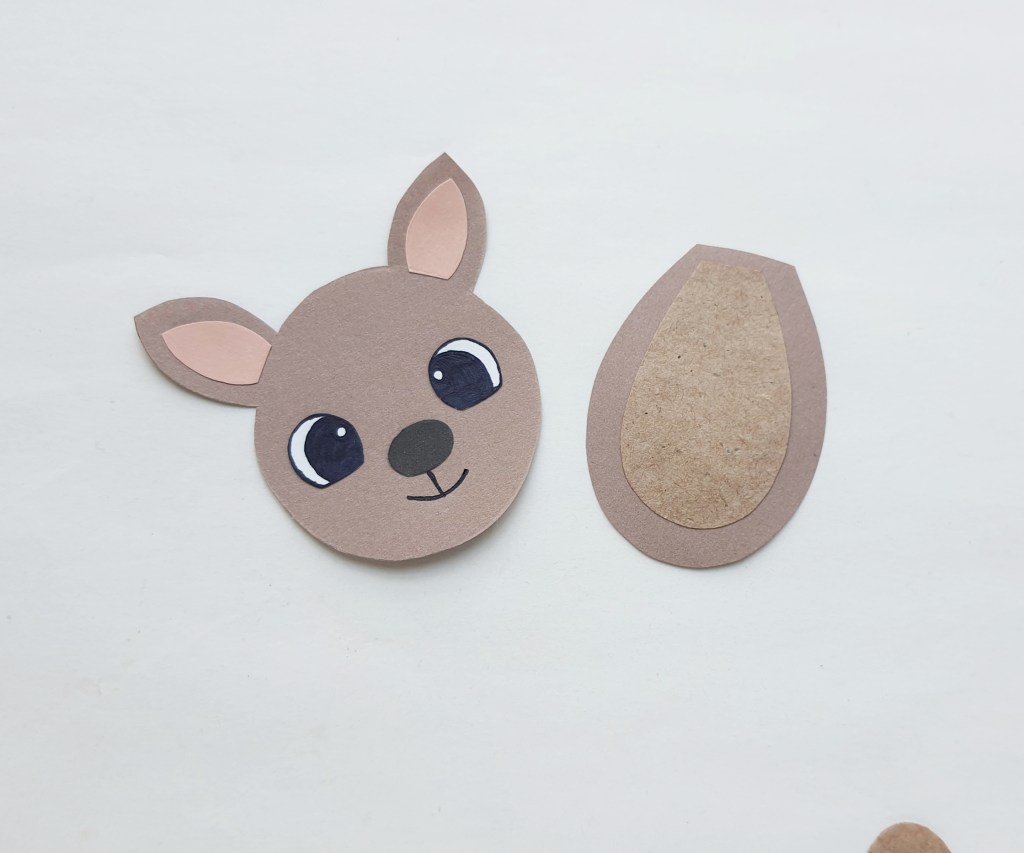
- Attach the eyes and nose on the head pattern. Use a sharpie to draw the mouth line of the papercraft kangaroo.

- Attach the lower leg cutouts on the backside of the lower body pattern, near the bottom side.

- Attach the head pattern on the top side of the lower body pattern.

- Attach the arm or upper leg cutouts on both sides of the lower body pattern’s top side. Apply glue only along the border and keep the rest of the arm cutout free from glue so that we can slide a paper or sheet under it to use it as a bookmark.

- Attach the tail cutout on either side of the kangaroo pattern, on the backside of the lower body pattern.

- Slide the arm parts of the papercraft kangaroo through a page to use the kangaroo as a bookmark.
Tips and Tricks
- You may need to help a younger child with the cutouts.
- Be sure to supervise your child in case they need help gluing the pieces together.
- Use a fine tip sharpie marker for the face so you can get the details just right.
More Kangaroo Ideas…
- Kangaroos hop with both feet at the same time and can hop up to 20 feet at a time. Practice doing long jumps with your child. You could use painter’s tape to set up a line to jump from and measure how far you and your child can jump. Your child will be practicing focus and gross motor skills with the long jump and learning how to read a measuring tape as well.
- Mother kangaroos have pouches to carry their babies. Spark some imaginative independent play in your child by giving them a drawstring bag to wear on their belly and putting stuffed animals in so they can pretend to be a mother kangaroo.
- Take your child on a field trip to the zoo and find the kangaroos. Share these zoo jokes while there. Count how many you see and observe what they are doing. See if you can help your child learn some new numbers and stretch how high they can count.
Kangaroo Bookmark

Materials
- Construction Paper
- Sharpie
- Glue Stick
- Pencil
- Scissors
Instructions
- Select 2 or 3 different shades of brown-colored craft papers. Trace the head, lower body pattern, tail and upper legs (or arms) on a medium shade of brown paper, trace the belly and lower legs on a light shade of brown paper, and trace the inner ears on pink and the nose on black paper. Cut out the traced patterns nicely.
- Attach the inner ear cutouts on the ear parts of the head cutout and attach the belly cutout on the lower body cutout.
- Attach the eyes and nose on the head pattern. Use a sharpie to draw the mouth line of the papercraft kangaroo.
- Attach the lower leg cutouts on the backside of the lower body pattern, near the bottom side.
- Attach the head pattern on the top side of the lower body pattern.
- Attach the arm or upper leg cutouts on both sides of the lower body pattern’s top side. Apply glue only along the border and keep the rest of the arm cutout free from glue so that we can slide a paper or sheet under it to use it as a bookmark.
- Attach the tail cutout on either side of the kangaroo pattern, on the backside of the lower body pattern.
- Attach the tail cutout on either side of the kangaroo pattern, on the backside of the lower body pattern.
Notes
- You may need to help a younger child with the cutouts.
- Be sure to supervise your child in case they need help gluing the pieces together.
- Use a fine tip sharpie marker for the face so you can get the details just right.
Connection doesn’t have to be complicated. With our Print Play Fun Membership, you’ll have screen-free activities at your fingertips—ready to turn everyday moments into memories.
👉 PS. This printable is waiting for you inside the membership!
How Do I Print A PDF?
You’ll need a program that supports PDFs. Adobe Acrobat is a great option. Open the program, click file then print. Select your printer and the number of copies you want to print. Be sure you click double-sided if you want it to print on both sides.
Can I Resell These?
You may not resell any printable or template that you find on our website or received in your email. You may use them for class parties, at church, at home, or in the classroom. You may get these printed at an office supply store or copy center at your own expense.