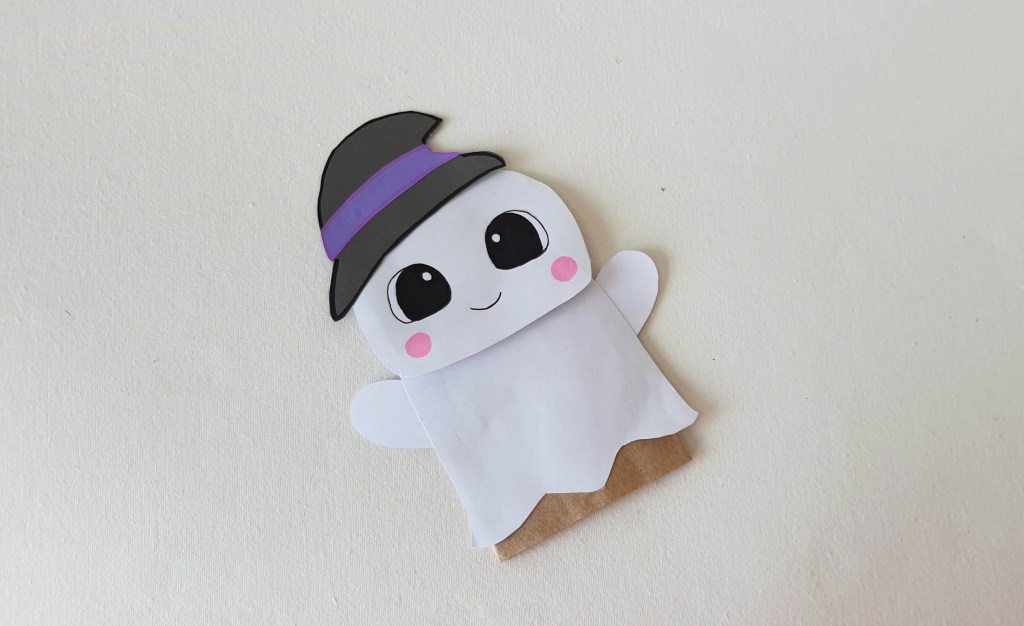
Ready to make Halloween a little less scary this year? We have you covered with this adorable paper bag ghost puppet. Far from spooky, this cheerful paper bag ghost is all smiles making it the perfect craft for kids of all ages.

Halloween crafts for kids are a staple in our home. My kids love to craft all kinds of spooky and non-spooky Halloween crafts. Whether you are looking for a fun craft at home or one for the classroom, this paper bag ghost is the perfect option.
Download your paper bag ghost template and discover just how easy it is to make these at home or in the classroom.
Once your ghosts are made, take it one step further in the realm of creativity and create a fun ghost puppet show with your kids. The laughs and giggles will be endless as these adorable ghosts pretend to scare each other time and time again.
If your kids love puppet shows, be sure to grab some more of our paper bag puppets, like our Yak Paper bag puppet and our hippo paper bag puppet.

Printable Template
Not quite ready to join our email list where we share free and paid products and fun ideas? That is ok! Purchase the template below!
Supplies Needed
- Colored construction papers
- Paper bag
- A pair of scissors
- Craft glue
- Pencil – to trace the template
- Sharpies
- Paper Bag Ghost Puppet printable template- Grab it below or grab it from our membership library!
Directions To Make A Paper Bag Ghost Puppet

- You can use thick white craft paper or white cardstock paper for the ghost pattern. Select different colored craft papers for the other items (hat and pumpkin). Trace the ghost head, body, and arm pattern on the selected white papers and trace the other things on colored craft papers of your choice. Cut out the traced patterns.

- Glue the strip cutout along the band of the hat base cutout. Use Sharpies to trace outlines on the band and hat base to give them a finished look.

- Use a black sharpie to draw the eyes and mouth-line of the ghost on the head cutout and use a pink sharpie to draw the blushes.

- Flatten the bottom side of your paper bag with any one side of the paper bag. Glue the head pattern on the flattened bottom side of the paper bag.

- Glue the body pattern on the paper bag, right below the head; Keep the wavy side of the body pattern along the open side of the paper bag.

- Glue the 2 arm cutouts on both sides of the body part.
- Glue the hat pattern on the top side of the head. Trim the open end of the bag (bottom end of the paper ghost puppet) if necessary.

Tips and Tricks
- If you’re crafting with younger children, always supervise when using scissors.
- Adjust the size and shape of the eyes and mouth to make multiple puppets with varying expressions. For example, a wide-open mouth can look surprised, while slanted eyes can give a sneaky appearance.
- Remember, it doesn’t have to be perfect! The charm of homemade crafts often lies in their quirks and individuality.
More Ideas…
Using a ghost paper bag puppet can offer many fun and engaging activities, both during the Halloween season and beyond. Here are some additional ways to enjoy your puppet:
- Storytelling Session: Craft a spooky story around your ghost puppet. Gather family or friends around a dimly lit room and use the puppet to narrate the tale. This can be particularly fun during sleepovers or campfires.
- Puppet Show: Create a mini-stage using a cardboard box and put on a puppet show. Introduce other characters by making other fun paper bag puppets and make it a full-blown production. Invite neighbors or friends over for a performance.
- Sing-Along: Sing Halloween-themed songs or nursery rhymes with the ghost puppet as the main singer. “Five Little Ghosts” or “If You’re Ghostly and You Know It” to the tune of “If You’re Happy and You Know It” can be great choices.
- Teaching Aid: Use the puppet to teach kids about emotions. Make different ghost puppets showcasing various expressions and use them to discuss feelings like happy, sad, scared, or surprised.
- Scavenger Hunt: Design a ghost-themed scavenger hunt around the house or garden. Use the puppet to give clues or as a prize for the winner.
- Ghost Dance Party: Play fun, spooky tunes and let the puppet dance around. Encourage children to dance along with their own puppets.
If your family creates this Paper Bag Ghost Puppet, share it with us on Instagram @frostingandglue. We’d love to see it!
Paper Bag Ghost Puppet

Materials
- Colored construction papers
- Paper bag
- A pair of scissors
- Craft glue
- Pencil – to trace the template
- Sharpies
Instructions
- You can use thick white craft paper or white cardstock paper for the ghost pattern. Select different colored craft papers for the other items (hat and pumpkin). Trace the ghost head, body, and arm pattern on the selected white papers and trace the other things on colored craft papers of your choice. Cut out the traced patterns.
- Glue the strip cutout along the band of the hat base cutout. Use Sharpies to trace outlines on the band and hat base to give them a finished look.
- Use a black sharpie to draw the eyes and mouth-line of the ghost on the head cutout and use a pink sharpie to draw the blushes.
- Flatten the bottom side of your paper bag with any one side of the paper bag. Glue the head pattern on the flattened bottom side of the paper bag.
- Glue the body pattern on the paper bag, right below the head; Keep the wavy side of the body pattern along the open side of the paper bag.
- Glue the hat pattern on the top side of the head. Trim the open end of the bag (bottom end of the paper ghost puppet) if necessary.
Notes
- If you’re crafting with younger children, always supervise when using scissors.
- Adjust the size and shape of the eyes and mouth to make multiple puppets with varying expressions. For example, a wide-open mouth can look surprised, while slanted eyes can give a sneaky appearance.
- Remember, it doesn’t have to be perfect! The charm of homemade crafts often lies in their quirks and individuality.
Connection doesn’t have to be complicated. With our Print Play Fun Membership, you’ll have screen-free activities at your fingertips—ready to turn everyday moments into memories.
👉 PS. This printable is waiting for you inside the membership!
How Do I Print A PDF?
You’ll need a program that supports PDFs. Adobe Acrobat is a great option. Open the program, click file, then print. Select your printer and the number of copies you want to print. Be sure you click double-sided if you want it to print on both sides.
Can I Resell These?
You may not resell any printable found on our website or in our resource library. You may use them for class parties, at church, at home, or in the classroom. You may get these printed at an office supply store or copy center at your own expense.